if you have a damaged LCD follow the steps below to repair this
problem.
Note: The SD600 is very similar to the SD200, SD300 & SD400,
so if you want to look at those to get an idea of what to do it is
suggested
Step 1: Make sure that the LCD is what is the problem and that
by fixing this the camera will be like new again. The best way to do this
is to take the A/V cable that came with the camera and plug it into the camera
and TV (A/V slot on camera found by the USB cable) [i didn't have a SD600 that
was broken, so I took apart my the camera I use to demonstrate]
Step 2: Unscrew housing, keeping track of the screws.
You should have a total of six (6) screws (2 from each side and 2 from the
bottom)
Step 3: Separate the LCD/backlight unit from the whole
camera. To do this there is a small screw on the top right of the
LCD. There are also two clasps, one to the left of the LCD and one at the
bottom left of the LCD. Do not lift the LCD/backlight yet...wait until the
next step.
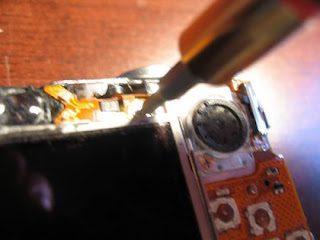
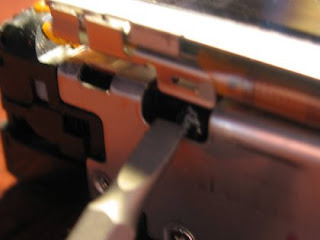
Step 5: Remove the ribbon for the backlight (located under the
LCD/backlight unit.
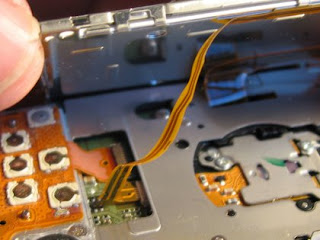
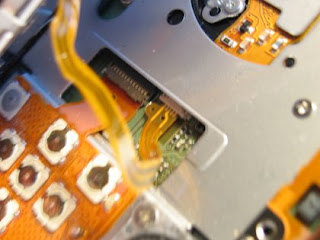 Step 6: Remove the ribbon for the LCD (located on the
front of the camera). After the ribbon is removed, tape a piece of paper
no thicker than the ribbon itself and at least 5 inches long.
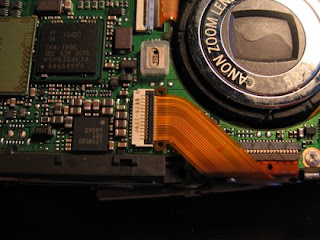
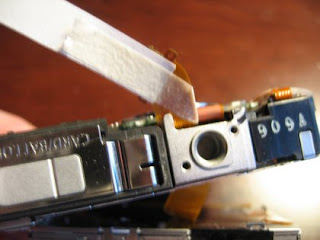 Step 7: Gently thread the ribbon and paper under the main
circuit. It may be easier to loosen the circuit by removing the screw
shown below (bottom right on the front of the camera). make sure the paper
doesn't tear. This step takes some patience. Once the paper is
through remove the tape from the LCD ribbon. Make sure the paper is still
on both sides of the camera.
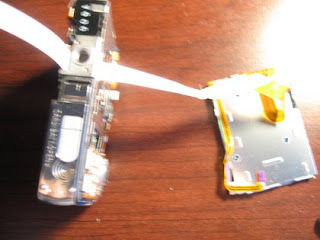
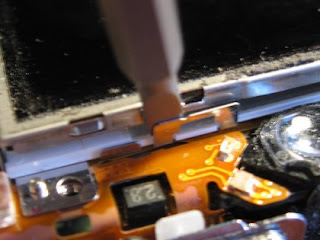
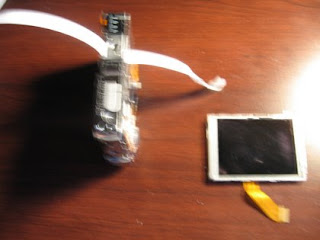 Step 8: Now separate the broken LCD from the backlight.
There are little notches (2 on top and 2 on bottom - one on the bottom is
covered in black tape). [i didn't actually do this step because my LCD
isn't broken and I don't want to accidentally scratch anything, but i
demonstrated how it should look - if you look at the sd200 page you should get
an idea of how it should look too]
 Step 9: Now get the new LCD. (information on how to get a new LCD
can be found on the repair shop link). Attach it to the backlight, then
attach the LCD ribbon to the strip of paper. Pull on the paper gently so
that the ribbon now goes through completely. (be sure that you get no
fingerprints on the back of the LCD or on the front of the backlight because
they will remain there.
Step 10: Attach the LCD ribbon to the
camera. Make sure it is FULLY inserted. Wipe off any
fingerprints
photos, but for obvious reasons I was unable to]
Congratulations, you did it!!!!
Didn't work? - If you only see white, this means that there is either a
problem with the LCD unit you inserted, or that you failed to insert the ribbon
fully. If you see an image, but is dark, then the backlight ribon was not
replaced correctly or fully. If the camera doesn't power on, then you may
have shorted a circuit, and failed to take the proper precautions as mentoined
here.

No comments:
Post a Comment