Step 1: Make sure that the LCD is what is the problem and that by fixing this the camera will be like new again. The best way to do this is to take the A/V cable that came with the camera and plug it into the camera and TV (A/V slot on camera found by the USB cable)
(i don't have a broken camera so I will be taking apart my working camera for your benefit. Your welcome)
Step 2: Unscrew housing, keeping track of the screws. You should have a total of six (6) screws (2 from each side and 2 from the bottom)
Step 3: Unscrew the two screws that are holding the LCD that are located at the the top of the LCD after the housing is removed.
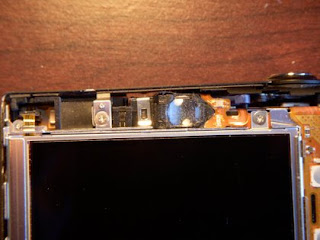 Step 4: There are two metal pieces that snap into the the sides of the LCD, one on the left, and one on the right. The one on the left is shaped like an L, and the one on the right is shaped like a shorter L
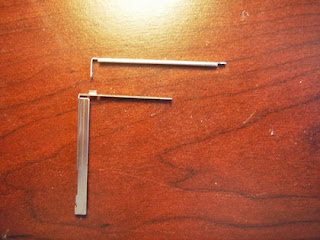 Step 5: Remove the backlight ribbon which is located in the upper left above the LCD
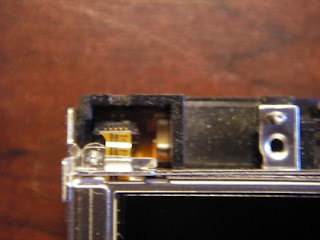 Step 6: Remove the LCD ribbon which is located on the front of the camera. To remove lift the black tab and pull out the ribbon. There is some glue that attaches the ribbon to the bottom of the camera, gently pry the ribbon off.
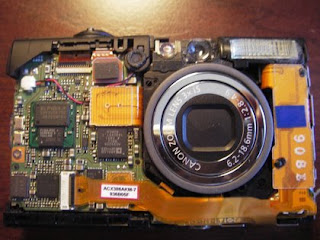
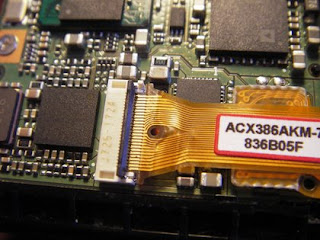
Step 7: Separate the LCD/backlight from the camera. There is a tab that looks like a peg and loop on the bottom right corner of the LCD, there is also a small tab that is on the left side.
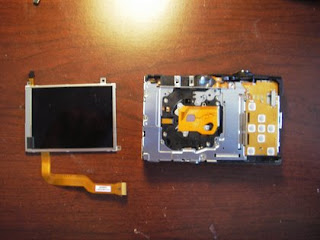
Step 8: Now get the new LCD. (information on how to get a new LCD can be found on the repair shop link).
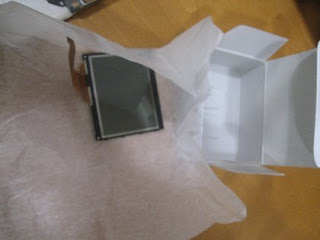 Step 9: Reverse the steps above and install the new LCD, re-assemble the housing and re-insert the battery and test.
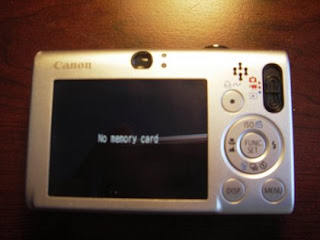 Congratulations, you did it!!!!
Didn't work? - If you only see white, this means that there is either a problem with the LCD unit you inserted, or that you failed to insert the ribbon fully. If you see an image, but is dark, then the backlight ribon was not replaced correctly or fully. If the camera doesn't power on, then you may have shorted a circuit, and failed to take the proper precautions as mentoined here.
No comments:
Post a Comment