
Step 2: Unscrew housing, keeping track of the screws. You should have a total of six (6) screws (2 from each side and 2 from the bottom)
Step 3: Separate the LCD from the backlight. The LCD can be removed by taking a small flathead screwdriver and inserting it between the top and bottom metal snaps on the LCD/backlight unit (see image below). Fold down the LCD unit..jpg)
Step 4: Remove the ribbon for the LCD (located on the front of the camera. After the ribbon is detached, thread a piece of string (I prefer dental floss) through the holes of the ribbon end.
Step 5: Remove the broken LCD from the rest of the camera, making sure the sting doesn't detach. You may want to unscrew the backlight unit to give yourself more space to pass the ribbon through, but this is not a necessity. Step 6: Now get the new LCD. (information on how to get a new LCD can be found on the repair shop link). Attached it to the string and gently pull it through to help the ribbon go through all the way.
Step 7: Attach the LCD ribbon to the camera. Make sure it is FULLY inserted (use toothpicks in ribbon holes for aide in this step)
Step 8: Replace the housing.
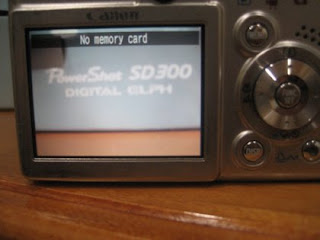
Step 9: Insert the battery and test to see if the LCD unit works.

Congratulations, you did it!!
Didn't work? - If you only see white, this means that there is either a problem with the LCD unit you inserted, or that you failed to insert the ribbon fully. If you see an image, but is dark, then the backlight ribon was not replaced correctly or fully. If the camera doesn't power on, then you may have shorted a circuit, and failed to take the proper precautions as mentoined here.

No comments:
Post a Comment